This post is sponsored by Black+Decker’s Your Big Finish initiative. Finish your project and enter to win $10,000!
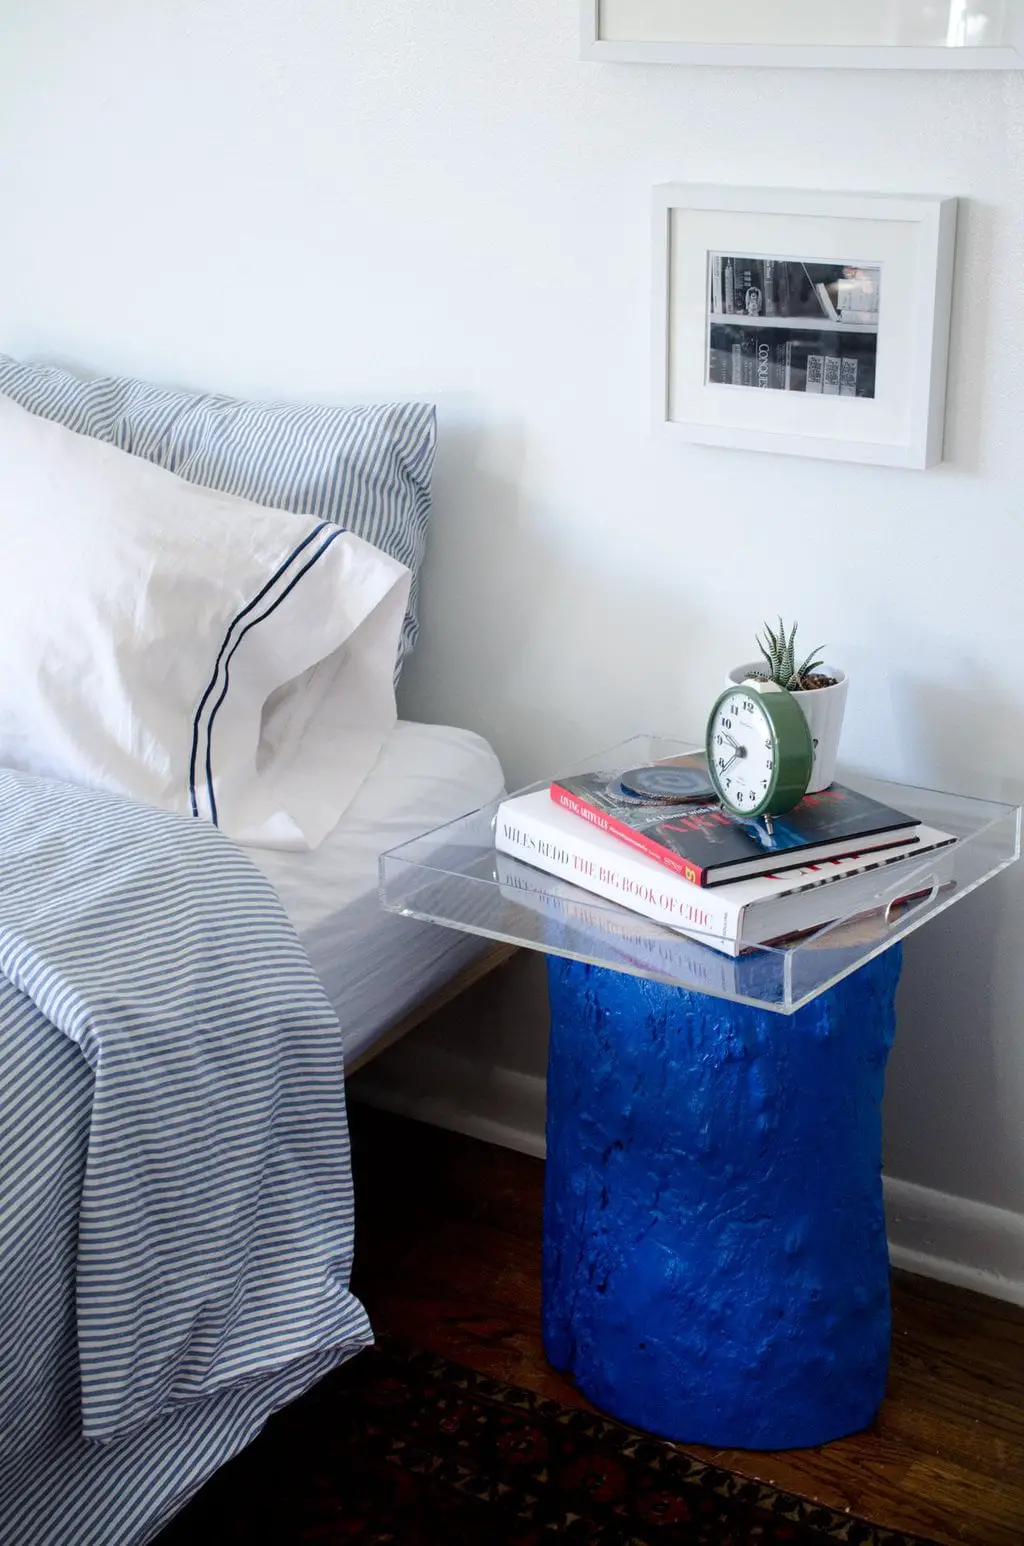
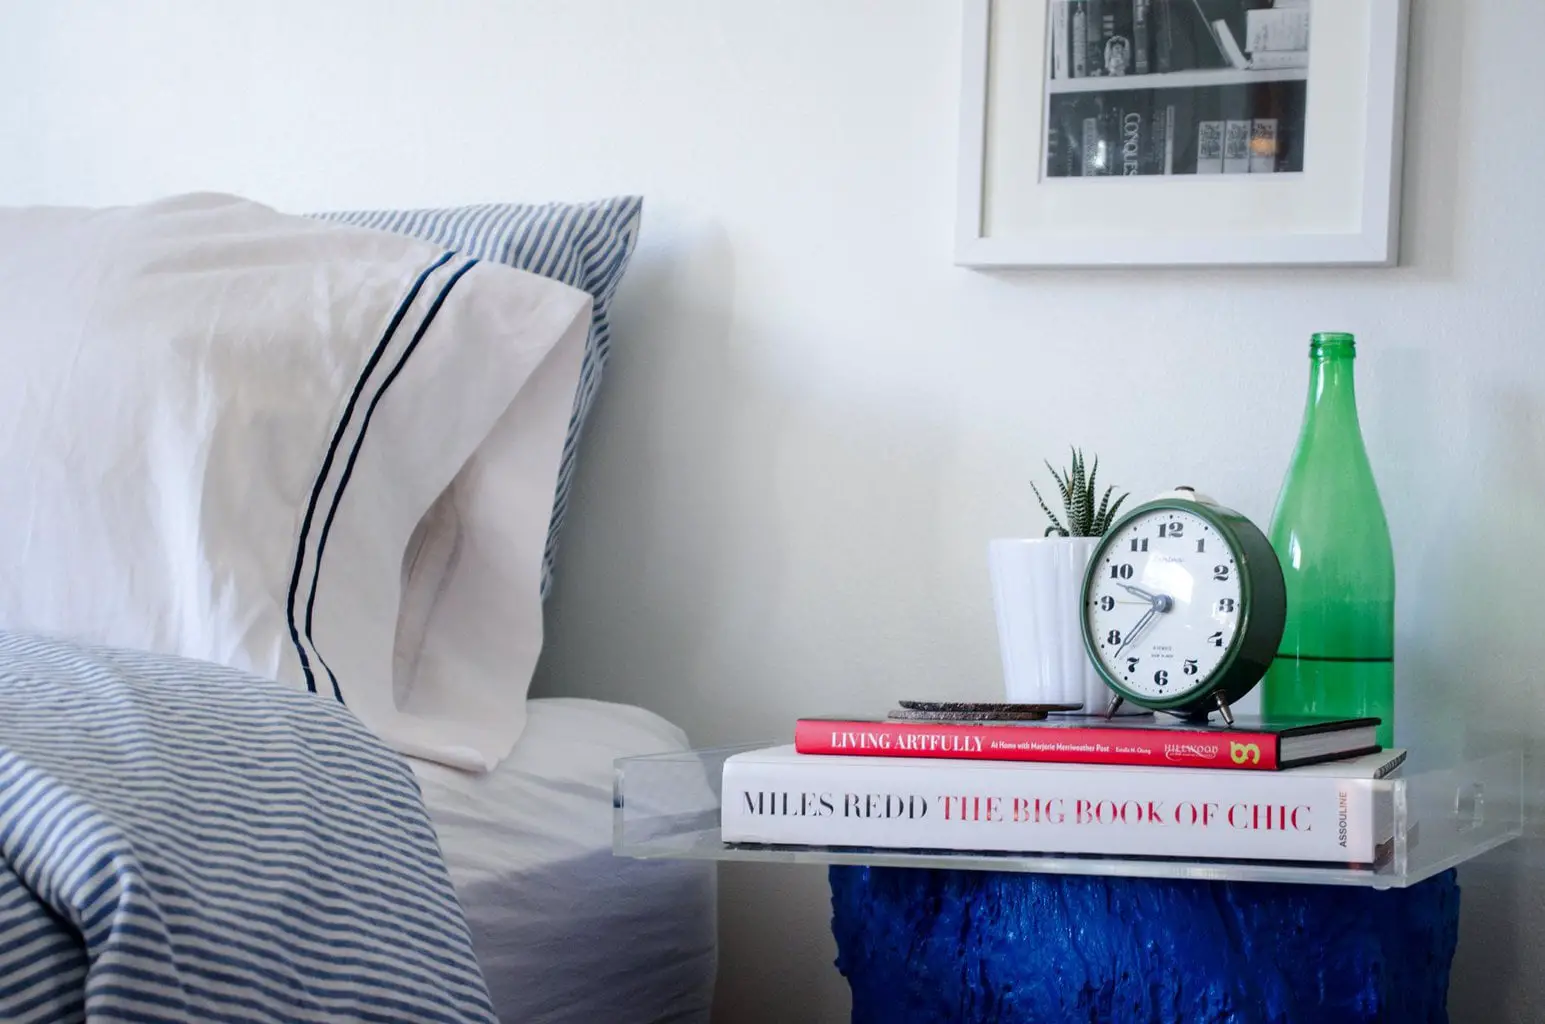
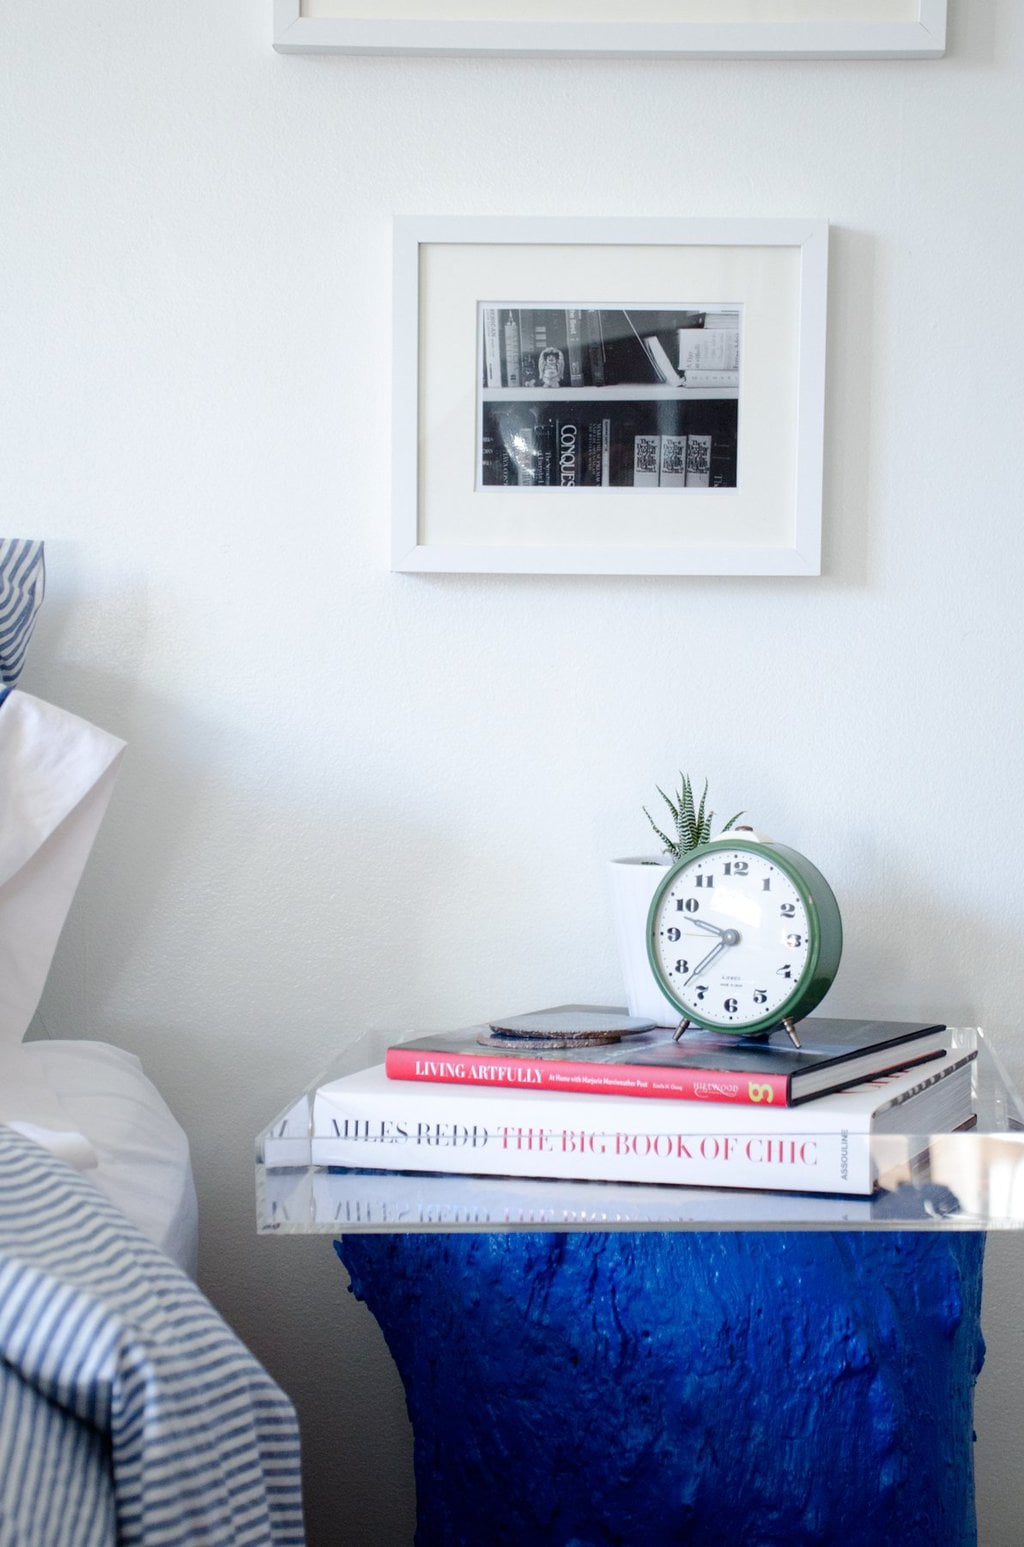
Last Winter I spotted a bunch of tree stumps left over in an empty lot down my street, so I picked one up, inspired by all of the stump side tables I’d seen (like this one from West Elm). It was the perfect height for a bedside table, but with its small size and plain bark, it was missing a much-needed wow factor… I realized it was the perfect opportunity to add an unexpected pop of color beside my bed. Tree stumps don’t make the most glamorous side tables, but what if they’re painted high-gloss cobalt? I’ve been seeing a lot of natural, stripped-down stump side tables around recently, but none painted. I liked the idea of brightly-colored bark, with the natural wood of the inside showing at the top. To expand the usable area of the table, I added square lucite tray from CB2. To complete my bedside table look, I added two coffee table books, a plant, and a vintage alarm clock (this Etsy shop has tons). If I do say so myself, lucite and bold cobalt make a glamorous pair!
It’s easy to start new projects, but following through and finishing them takes patience and dedication. Thanks to Black+Decker, you have a reason to dust your old projects off and get them finished! Enter to win $10,000 towards a future project or great weekly prizes in their Big Finish giveaway.
(Tray: CB2, Alarm clock: Etsy, Planter: Ikea, Big Book of Chic: Amazon)
There are lots of DIY tree stump tutorials around, many of which have instructions on how to remove the bark and sand down the sides. Depending on the type of tree the stump comes from, the bark may crumble and drop dirt whenever the table is touched/moved/painted. If the bark is pretty sturdy, like in my case, you can just brush off the stump really thoroughly with a stiff brush to knock all the loose bark and dirt off. I also recommend leaving the stump in your basement/attic (whichever is drier) to air out so that you can get any remaining moisture out. For instructions on removing bark and sanding it down to smooth sides, check out this project from A Beautiful Mess. If you want to leave the bark on, I would still recommend sanding the top and bottom. If your stump is uneven you can either cut it and sand it down, or add plastic bumpers to even it out.
To paint the stump, I taped off the top edge and flipped it over (see picture here), so that I could paint it thoroughly without worrying about keeping the top edge clean. I would recommend painting one layer, then waiting for it to dry and flipping it over to paint the second layer, getting into all the cracks and crevices of the bark to get a solid covering. If you do get paint on the top, just sand it off.
