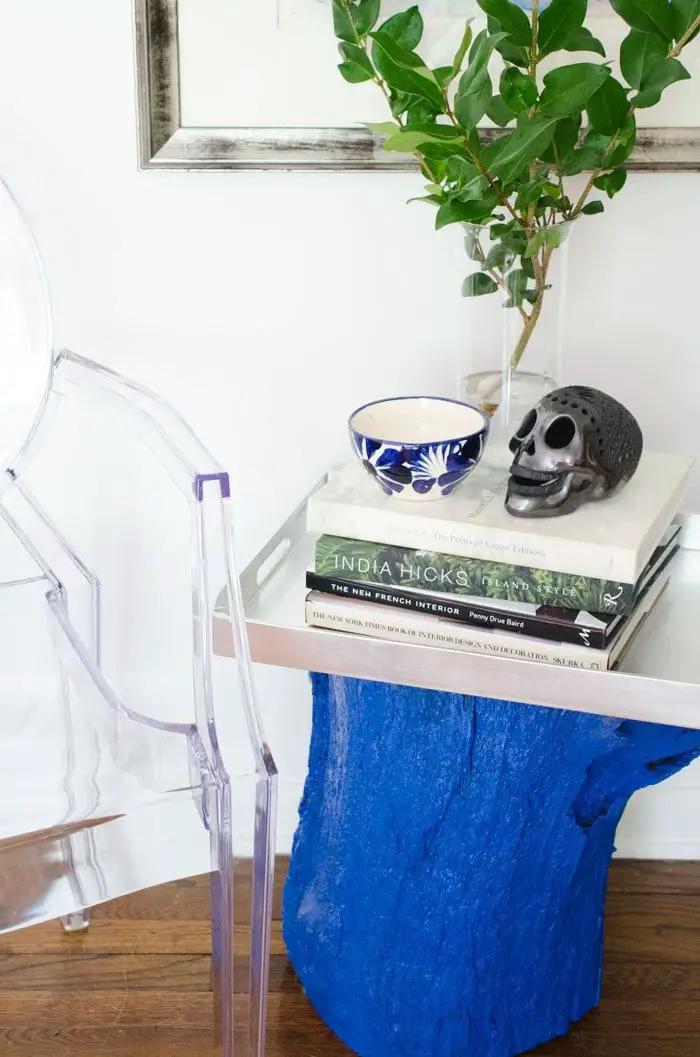
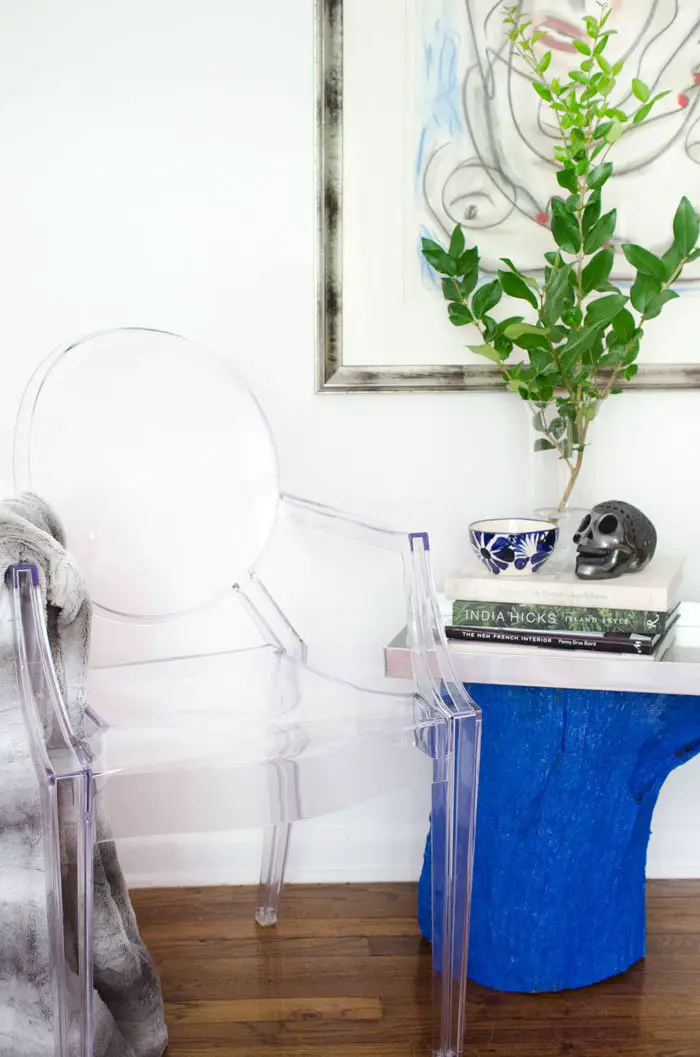
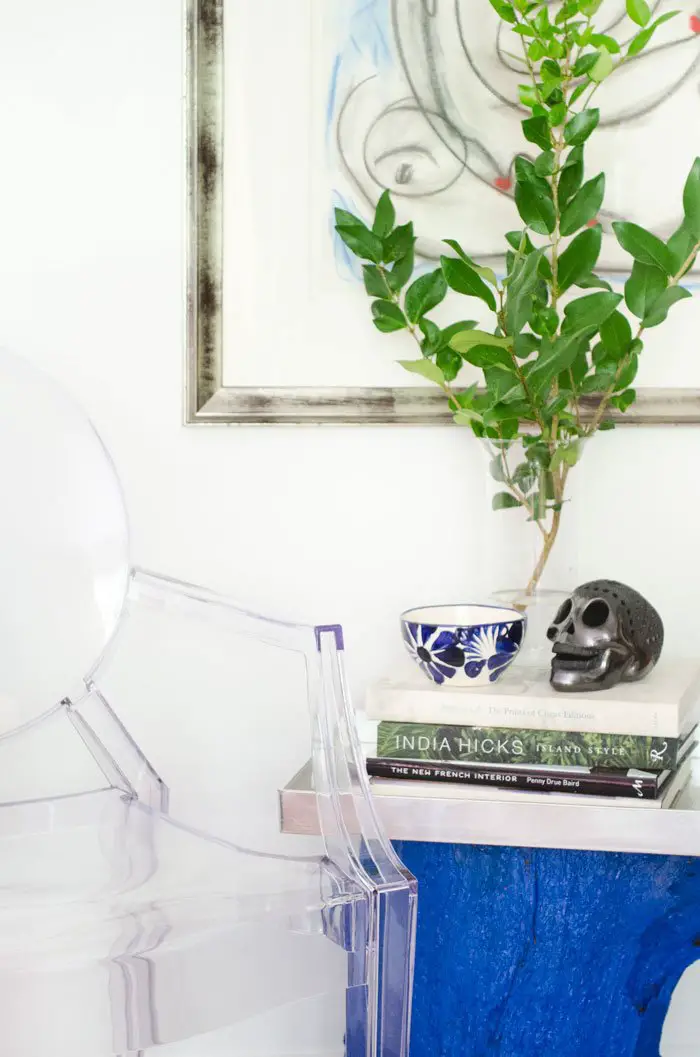
As summer comes to a close, so does our fun DIY Summer School. I’ve so enjoyed linking up with this talented bunch of bloggers this summer, and I hope you’ve enjoyed the projects I’ve created over the course of the series. For our final project the theme was nature inspired, and I have to admit to a little cheating on my part. My project is not entirely new to the blog, but it fits so perfectly with the theme that I had to revisit it! I had fun restyling my “unexpectedly cobalt” stump table and giving it new context – I’ve been using this table as a bedside table, but it really looks fabulous in this modern living room setting as well. It’s a fun piece to move around because it injects so much color and personality in a room! I will review the directions below, but you can also hop over to the original project post here.
There are lots of DIY tree stump tutorials around, many of which have instructions on how to remove the bark and sand down the sides. Depending on the type of tree the stump comes from, the bark may crumble and drop dirt whenever the table is touched/moved/painted. If the bark is pretty sturdy, like in my case, you can just brush off the stump really thoroughly with a stiff brush to knock all the loose bark and dirt off. I also recommend leaving the stump in your basement/attic (whichever is drier) to air out so that you can get any remaining moisture out. For instructions on removing bark and sanding the stump smooth, check out this project from A Beautiful Mess. If you want to leave the bark on, I would still recommend sanding the top and bottom. If your stump is uneven you can either cut it and sand it down, or add plastic bumpers to even it out.
To paint the stump, I taped off the top edge and flipped it over (see picture here), so that I could paint it thoroughly without worrying about keeping the top edge clean. I would recommend painting one layer, then waiting for it to dry and flipping it over to paint the second layer, getting into all the cracks and crevices of the bark to get a solid covering. If you do get paint on the top, just sand it off.
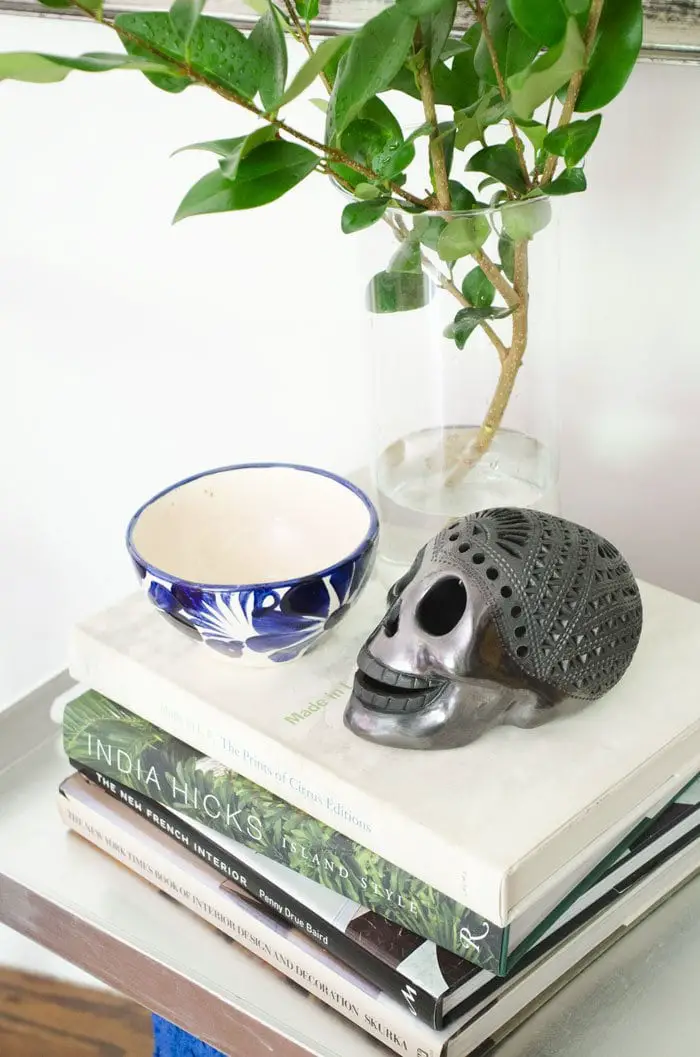
I love it with a tray on top – I originally used this lucite tray, but I have recently been using a silver foil tray on top, with a couple of books and accessories, depending on where it is. Free tree stumps can be tricky to find depending on where you live, but you happen to find one, this is a fun way to make a bold, versatile statement piece!

You ended with a bang! Love it Kevin and I am so grateful that you trusted your (amazing!) DIY skills and played along this summer!
Adore that electric blue, such a great mix of Rustic + Modern!