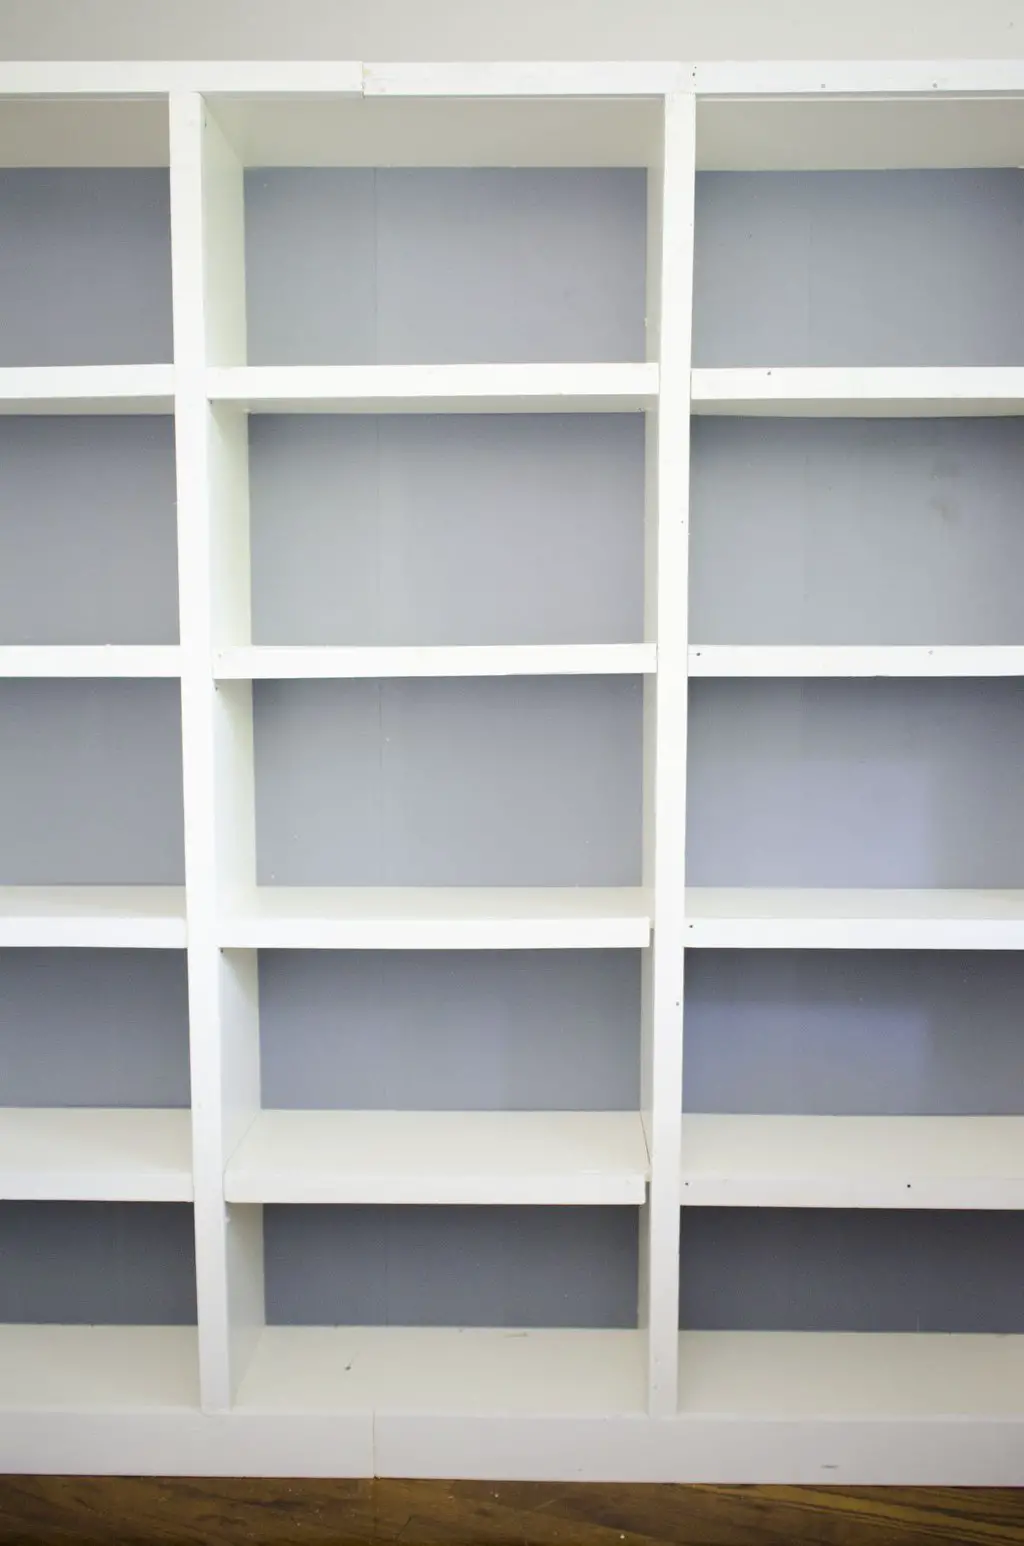
As a young designer, you can be sure I have cycled through many arrangements of my bedroom furniture. I mean it’s only natural that I rearrange my one true domain at least a couple times a year, right? Needless to say, the bookshelves you may recall flanking my bed in my last rendition have now been IKEA-hacked once more for a workspace makeover. As I mentioned at in this recent post with Black+Decker, I had two bookshelves in my room and two in my little sister’s room that I combined to create a long wall of shelves that now face my bed. Using my limited math skills and Home Depot’s lumber selection, I refaced the bookshelves to create a more substantial, ‘built-in’ look that also connects the four shelves into one unit. With the appearance of thicker shelves and a solid base, the shelves instantly had much more integrity as a unit. They now serve as a great backdrop for my new desk! Click through to see a few photos of the process and stay tuned for a full workspace makeover reveal later this week.
I started this project by figuring out the pieces of wood I needed. I ended up buying Home Depot’s cheapest lumber (more on that later) with a width of 1.5 inches and a thickness of 3/4 of an inch for all of the pieces except for the bottom, which has a width of 3.25 inches. I bought the following pieces for four GERSBY bookshelves:
In 1.5 inch width: 5 x 66.875″ (for the pieces running the height of the bookcases), 16 x 22.25″ (for the shelves), 1 x 97″ (running across the top of the whole unit, can be cut into two pieces)
In 3.25 inch width: 1 x 97″ (running across the bottom of the unit, can be cut into two pieces)
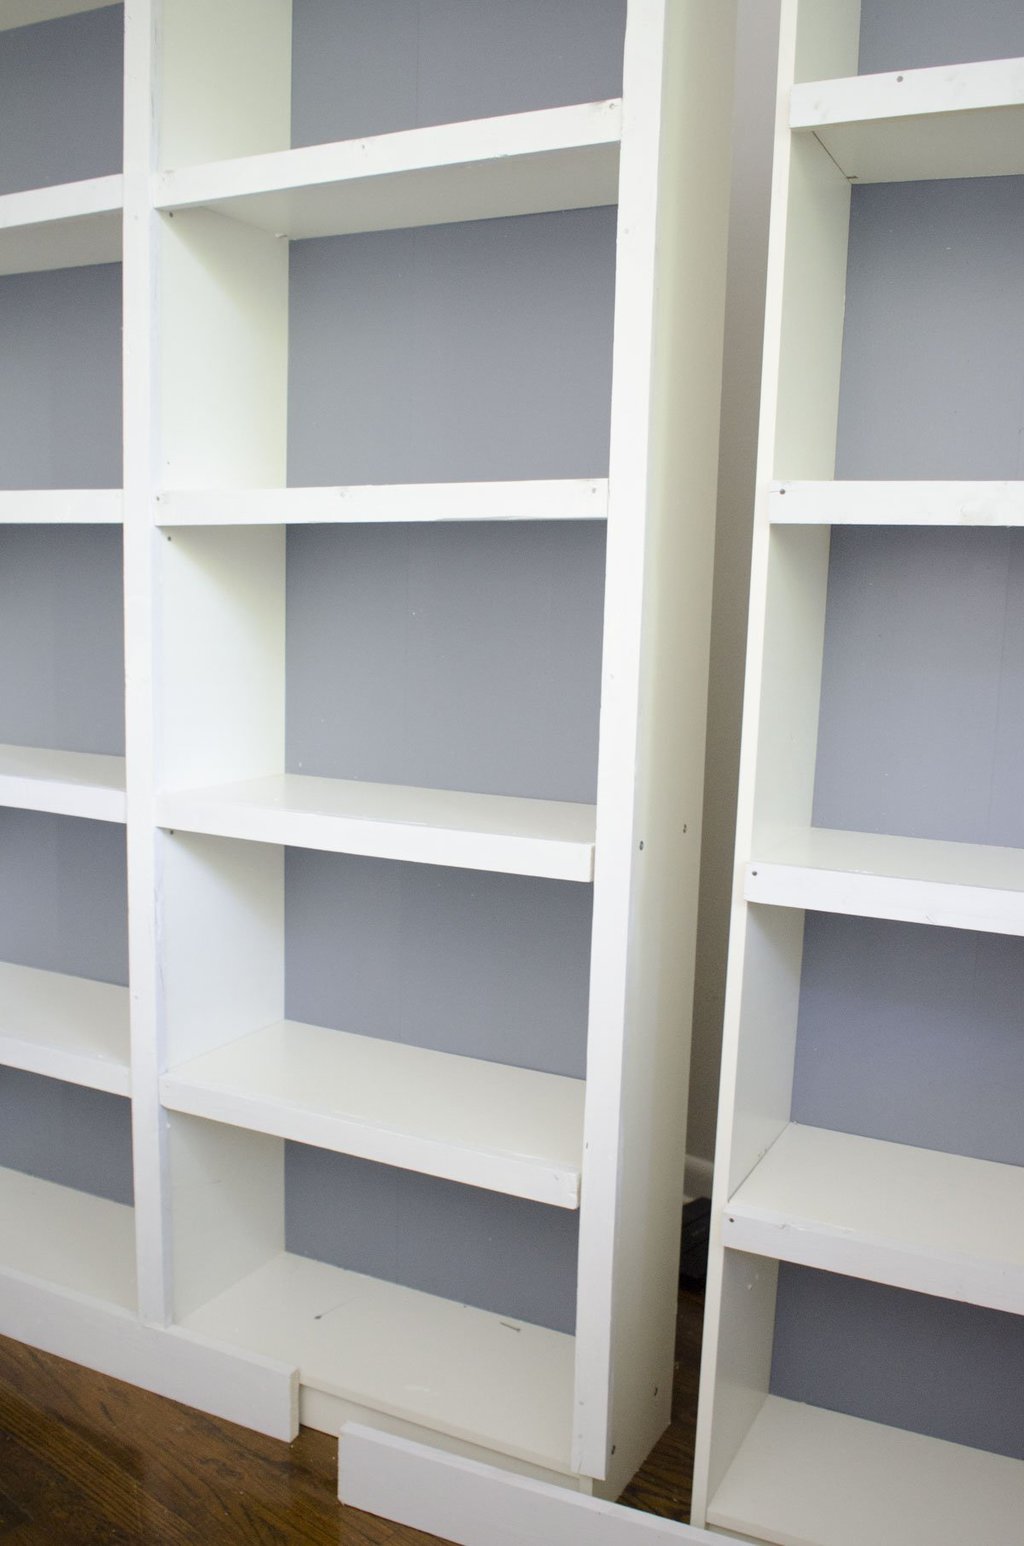
I spray painted the lumber white to help it blend in, and painted all the backs of the bookshelves a cool dark grey for depth inside the shelves. The color ended up pairing perfectly with my gold desk lamp and sconces!
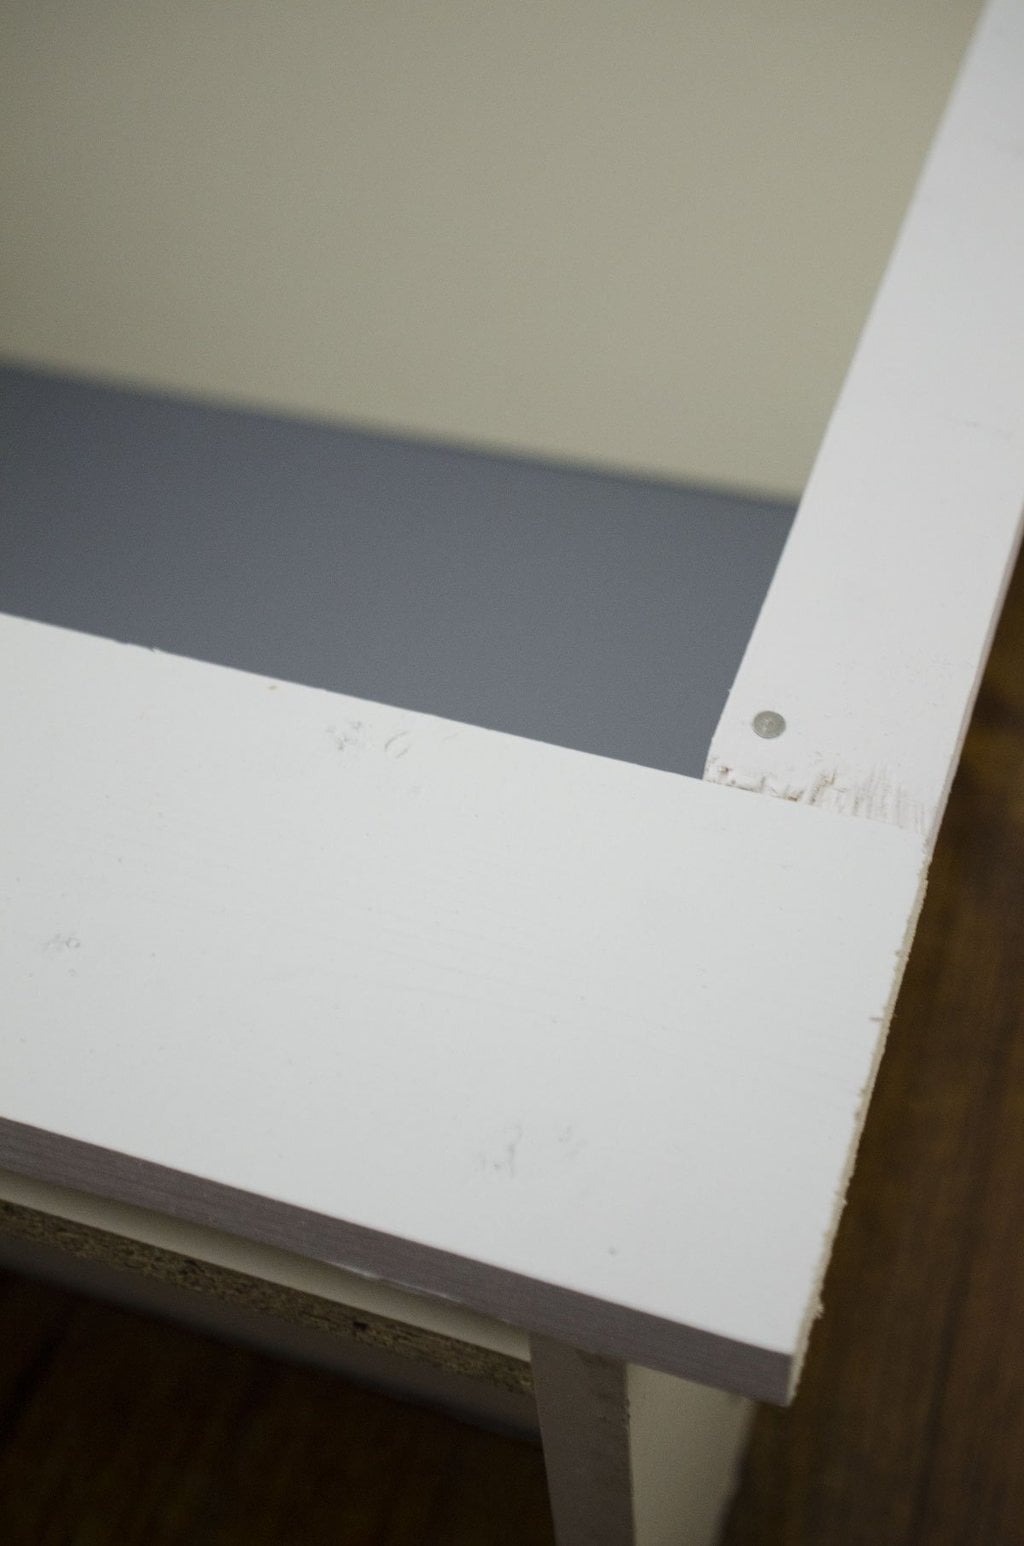
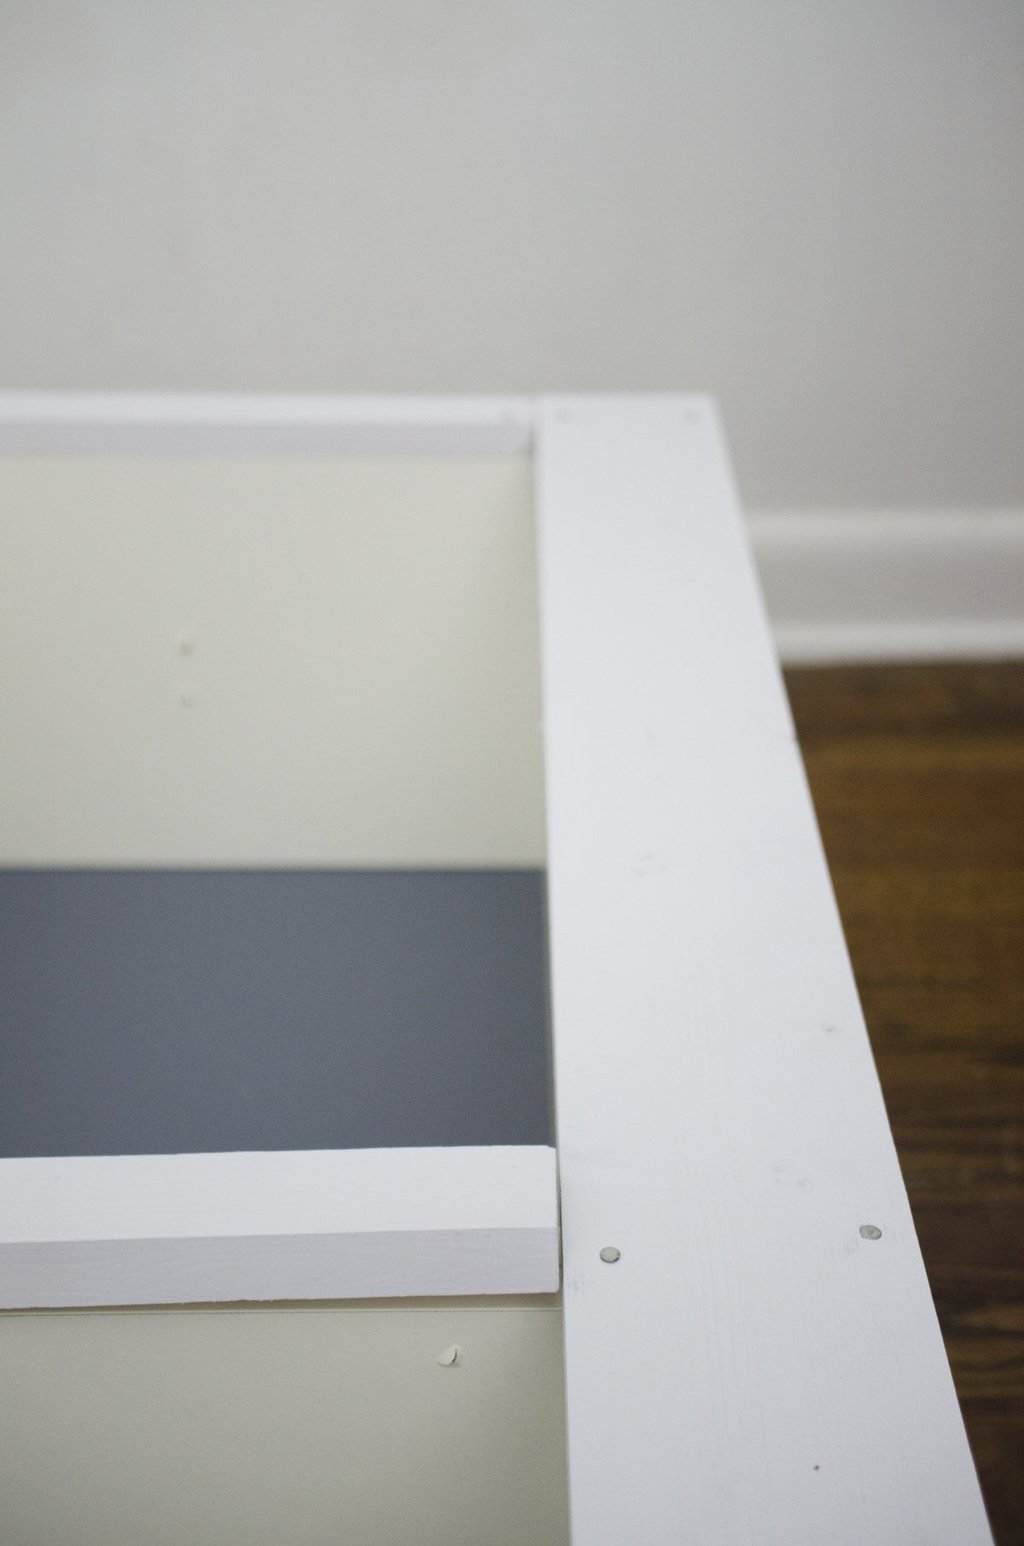
Since the wood had to be applied to the bookcases while they were laying on the ground, I nailed the wood onto the fronts of two connected bookshelves at a time, then slide the two pairs of bookshelves together to put in the final nails. For this reason, it helps to have the pieces of wood that go across the top and bottom of the unit to be cut into two pieces, so they can be attached on either side.
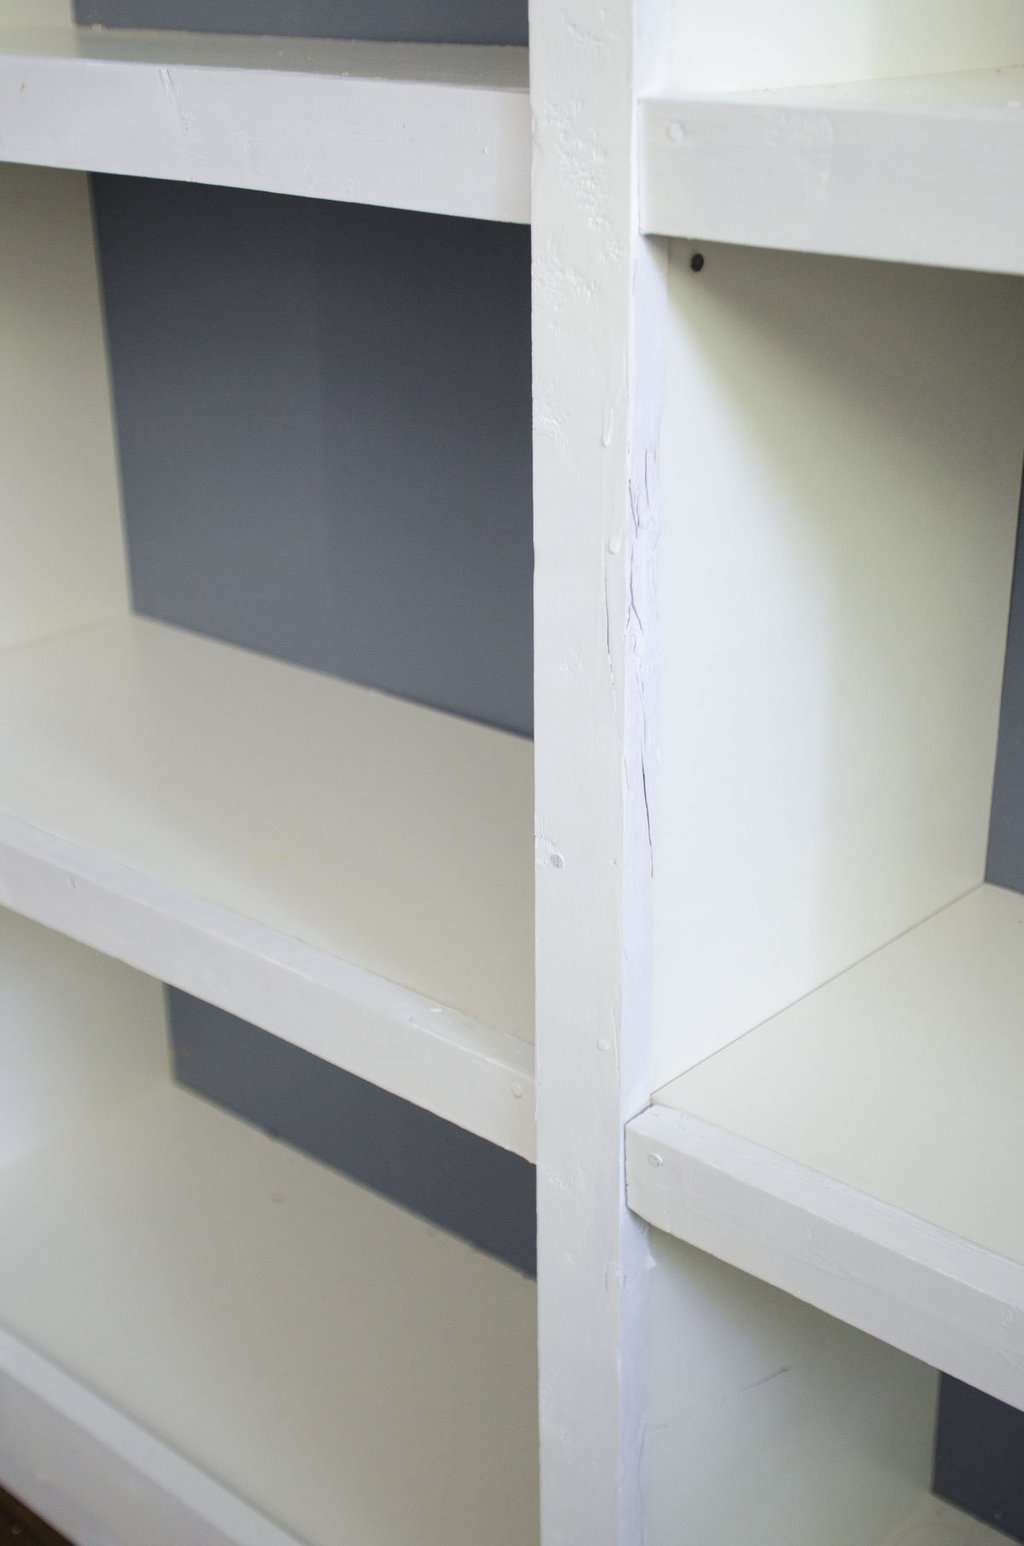
As you can see, the quality of the wood definitely shows, even after several coats of spray paint. Although I was able to help straighten out many of the pieces as I nailed them in, their knots and cracks and warped shapes definitely give the finished product a handmade look on close inspection. This is partly due to the wood and partly due to my limited DIY skills, but it is worth considering the precision required for a sleeker finished product if you’re considering doing something similar.
As you can see, the bottom and top pieces were cut so that they could be attached on either side and slid together to unify the two pairs of bookshelves. At this point, you will want to place your shelves where you’d like them to be before putting in those last nails because it’s hard to move all four shelves at once.
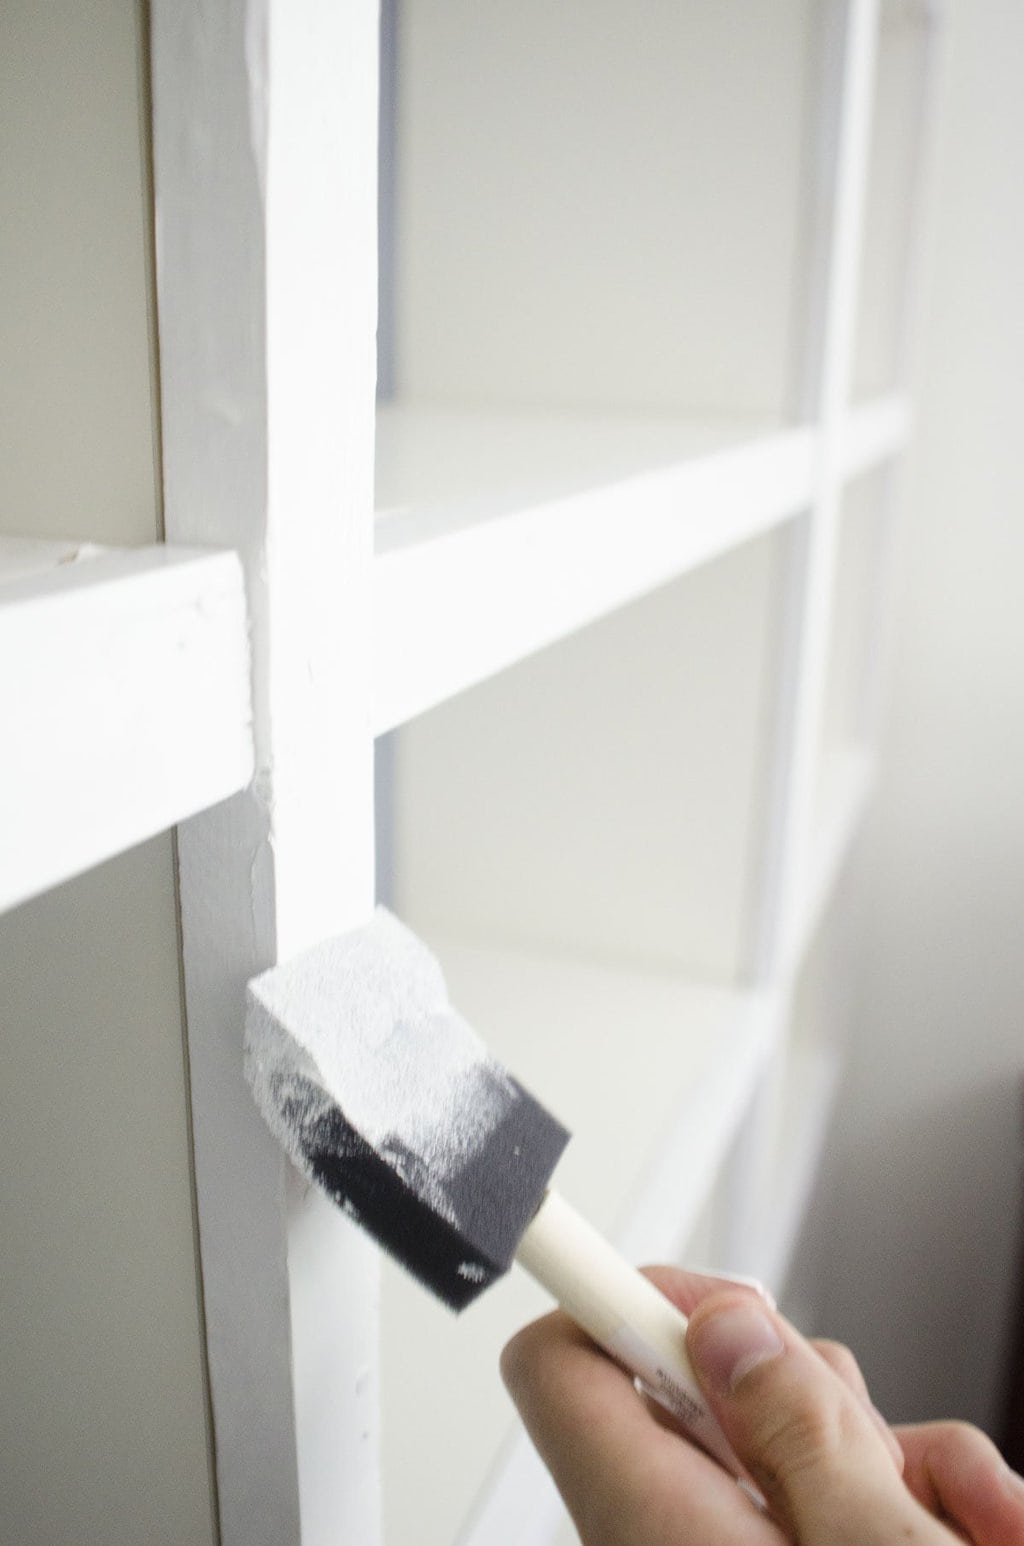
The last step would be to cover all those nails with white paint, and touch up any places where the spray paint didn’t quite cover or the hammer left a mark. Once the paint has dried, you can style your bookshelves with all of your favorite books and accessories! I can’t wait to share the full workspace – my wall of bookshelves now provides easy-to-access storage around my new desk.





Can’t wait to see it finished and in the context of the space it is situated in. Looking good so far!
Thank you – I can’t wait to share the rest!