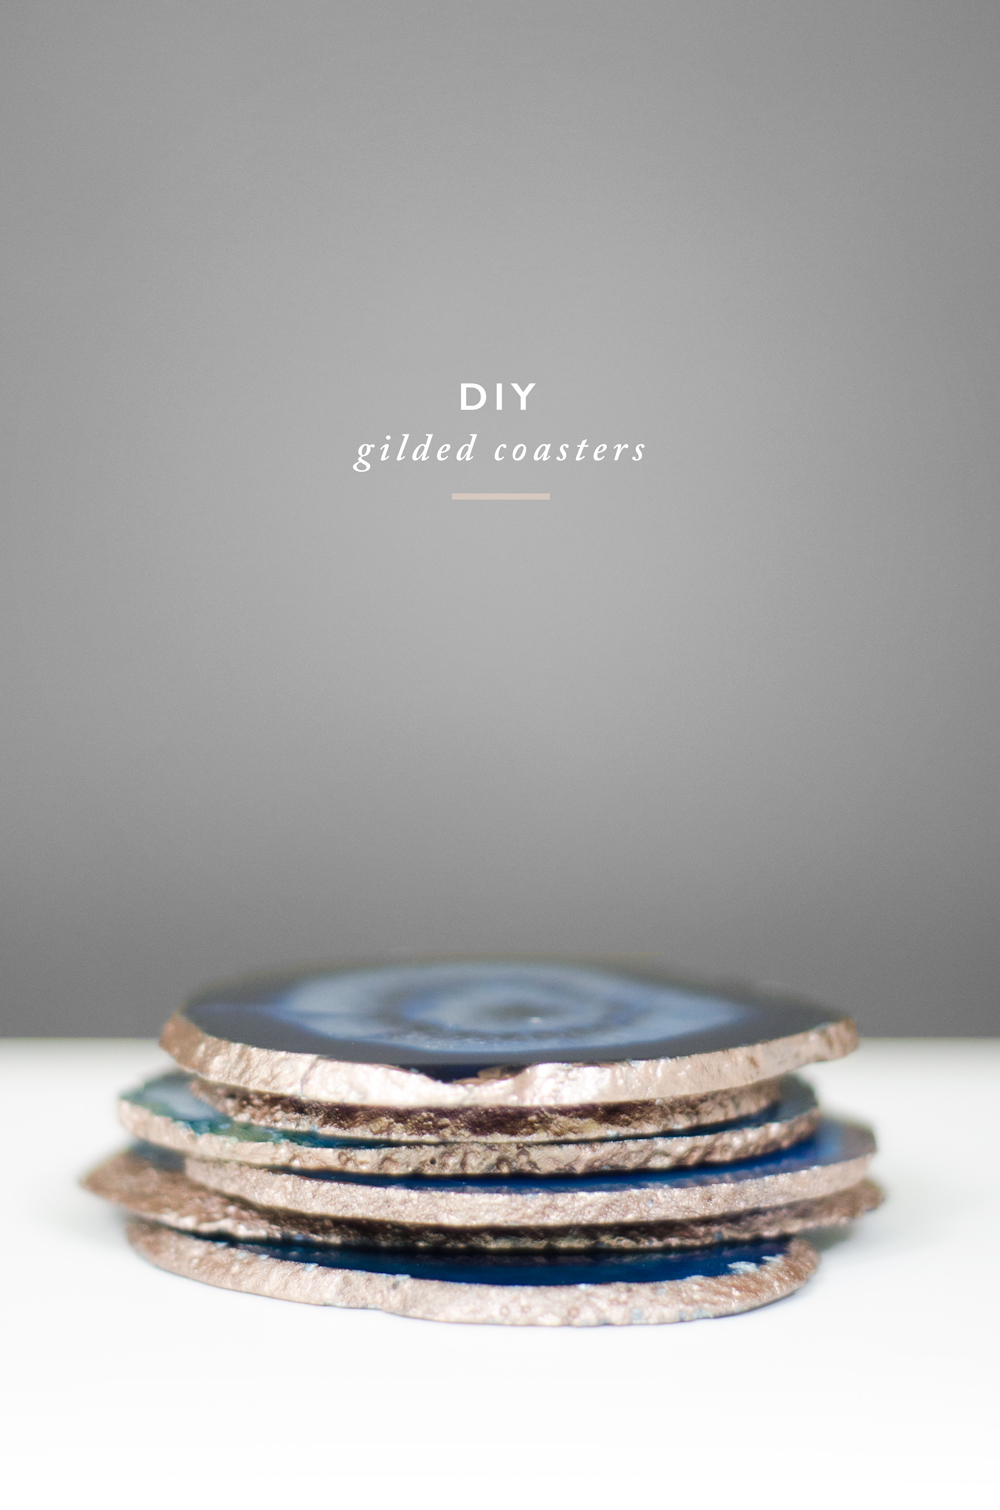
DIY Gilded Agate Coaster: Your Complete Guide

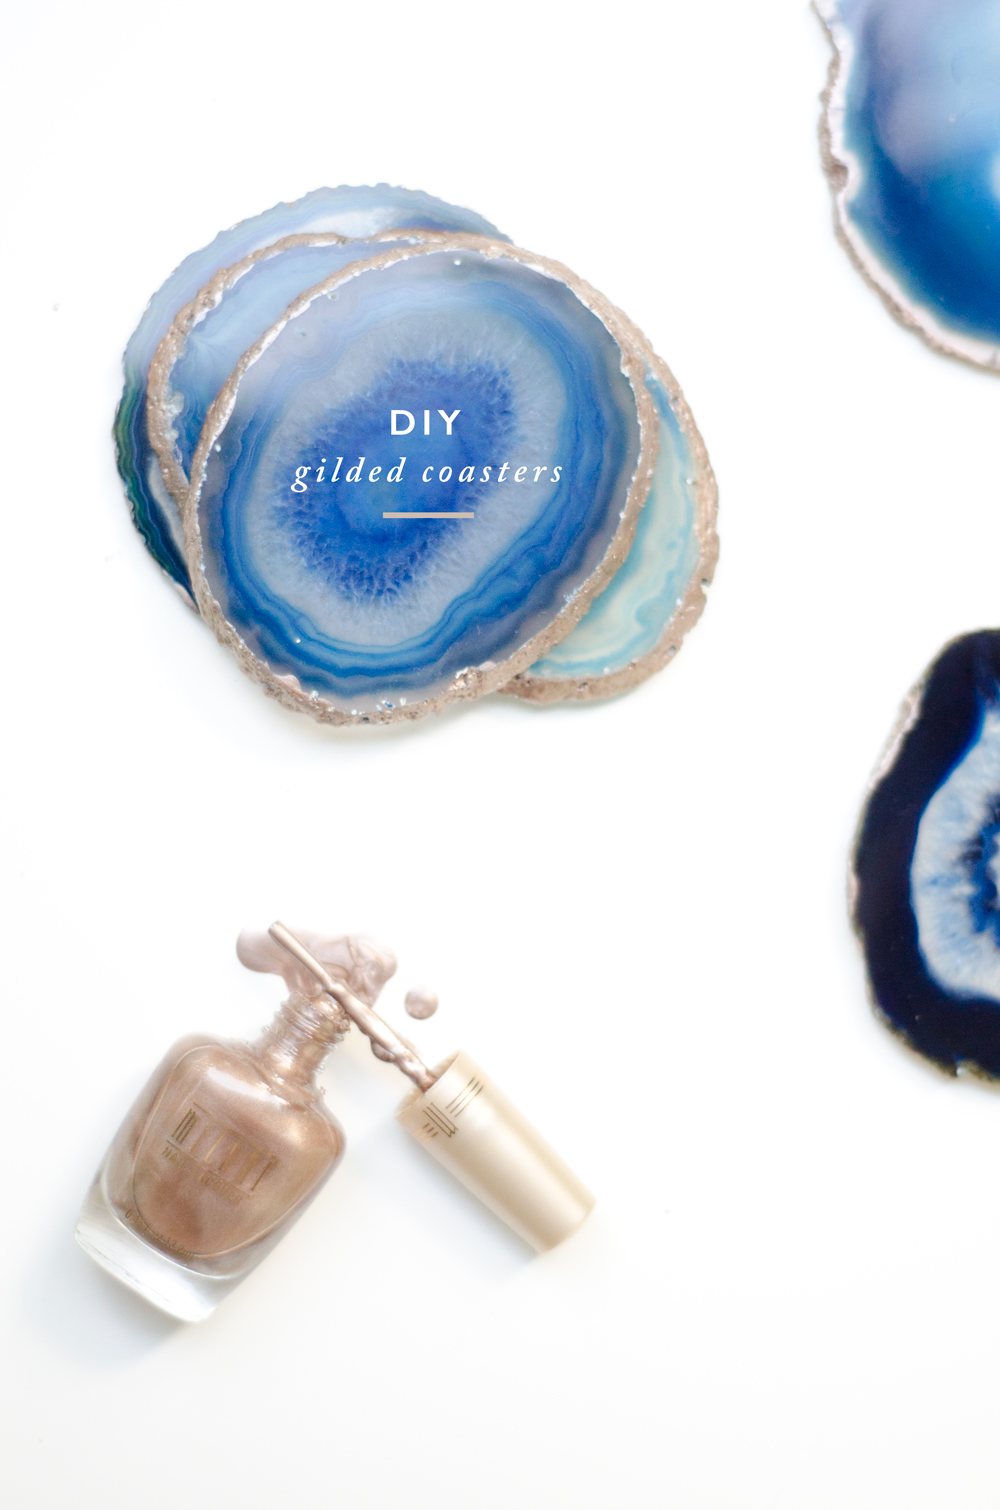
DIY gilded coasters are more than just functional accessories; they’re handcrafted gems that elevate your home’s aesthetic. A DIY gilded agate coaster is a piece of agate stone, edged with gold, that combines natural beauty with a luxurious twist.

In this guide, you’ll learn the essentials of making these elegant coasters: choosing agate slices, applying gold leaf, and sealing them for longevity. We’ll explore creative customizations and share tips to ensure your coasters remain timeless treasures.

Ready to transform your space with a touch of sophistication? Let’s create coasters that are as unique as you are and discover why DIY gilded agate coasters are the perfect blend of opulence and craftsmanship.

What Are Gilded Agate Coasters and Why Make Your Own?

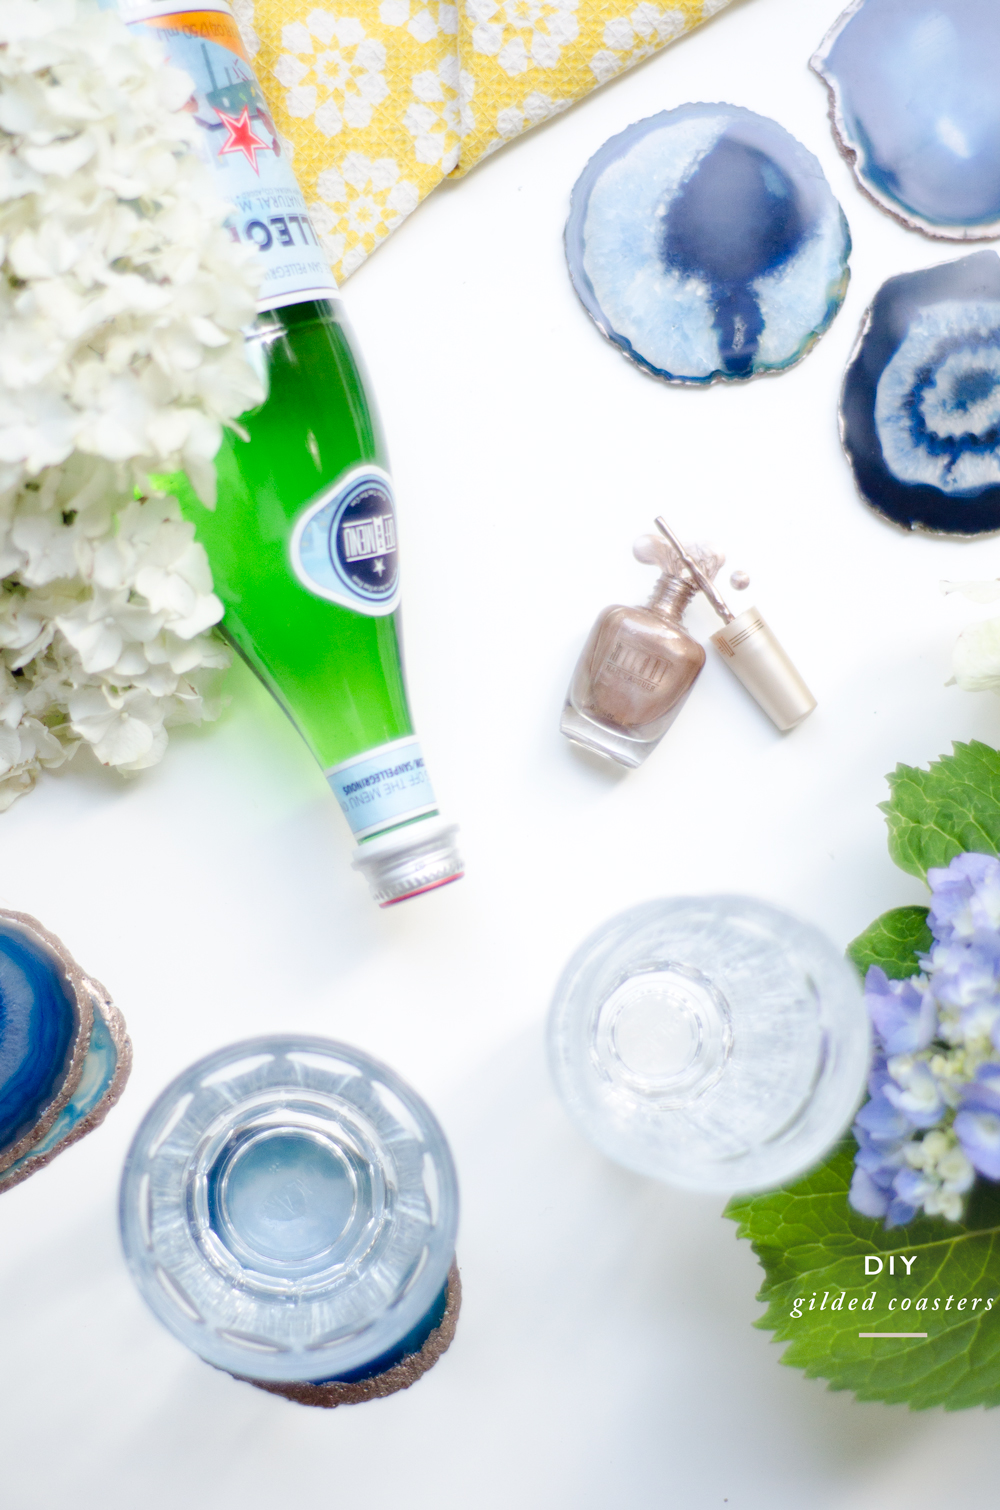
Gilded agate coasters are slices of agate stone – you know, those sparkly, semi-precious stones with layers of beautiful colors – with their edges dipped in a shimmering metallic finish, often gold or silver. They’re not just coasters; they’re mini pieces of art that protect your table.

Why make your own? It’s all about personal touch and the joy of crafting. You choose the exact slices, pick the metallic hue that speaks to you, and create something no one else has. Plus, DIY-ing these beauties can be a fun, rewarding experience.

Imagine hosting a dinner party and your guests can’t stop admiring your handmade coasters – that’s the magic of DIY gilded agate coasters. They bring an upscale vibe to any space and reflect your unique style and creativity.

What Supplies Will You Need for DIY Gilded Agate Coasters?

To kick off your DIY gilded agate coaster project, you’ll need a handful of supplies that’ll turn plain agate slices into tabletop showstoppers. For your DIY gilded agate coaster project, here are five essential supplies with a brief description of each:

Agate Slices

DIY Gilded Agate Coaster: Your Complete Guide 1
Check The Price

These are the main canvas for your coasters; go for varied colors or stick to a theme. Look for slices that are flat and have interesting natural patterns.

Metallic Leaf Sheets

DIY Gilded Agate Coaster: Your Complete Guide 2
Check The details

Choose from gold, silver, or copper leaf sheets to apply to the edges of your agate slices. This is what gives the coasters their ‘gilded’ aspect and luxurious feel.

Size (Metal Leaf Adhesive)

DIY Gilded Agate Coaster: Your Complete Guide 3
Check The Price

This specialized glue ensures that your metallic leaf adheres to the agate edges smoothly and stays put. It’s essential for the gilding process.

Clear Sealant

DIY Gilded Agate Coaster: Your Complete Guide 4
Check The details

After gilding, a clear sealant will protect the metallic leaf from tarnishing and the coasters from water damage. Opt for a sealant that’s compatible with your chosen leaf and stone.

Rubber/Cork Bumpers

DIY Gilded Agate Coaster: Your Complete Guide 5
Check The Price

Stick these on the bottom of your coasters to protect your table surfaces. They provide a non-slip grip and elevate the coaster slightly, adding function to form.

How Do You Prepare Agate Slices for Gilding?

Preparing agate slices for gilding is a straightforward but crucial step to ensure the gilded edges come out looking flawless. Here are five essential stages in the preparation process:

Cleaning

DIY Gilded Agate Coaster: Your Complete Guide 6

Begin by delicately washing each agate slice with gentle soap and warm water. This step removes any lingering dust, oils, or residues that could prevent the gilding adhesive from sticking. Imagine you’re bathing a delicate piece of glass—that’s the level of care you want to take

Drying

DIY Gilded Agate Coaster: Your Complete Guide 7

After a thorough wash, dry the slices completely with a soft, lint-free cloth. It’s vital to remove all moisture so the adhesive and leaf can adhere properly. Think of it like prepping a canvas for painting; it needs to be bone dry.

Wiping

DIY Gilded Agate Coaster: Your Complete Guide 8

Once the edges are smooth, give the slices another quick wipe to clear away any sanding dust. You want your agate edges as clean as a whistle, ready for the gold to cling to.

Taping

DIY Gilded Agate Coaster: Your Complete Guide 9

For precision, use painter’s tape to mask off the areas of the agate where you don’t want the gilding to appear. Apply the tape with the accuracy of a watchmaker, ensuring it’s straight and secure.

With these steps, your agate slices will be perfectly prepped and ready to be transformed into elegant, gilded coasters.

What Creative Variations Can You Try With Agate Coasters?

DIY gilded agate coasters are an art in itself, and there’s a whole spectrum of creative spins you can put on them:

Colorful Edges

DIY Gilded Agate Coaster: Your Complete Guide 10

Rather than the usual gold or silver, why not try a bold pop of color? Imagine the edge in a vivid teal or a soft lavender for a playful twist.

Geometric Patterns

DIY Gilded Agate Coaster: Your Complete Guide 11

Use thin strips of tape to create geometric patterns on the edges before gilding. This will give your piece a modern, angular twist on the classic gilded look.

Layered Leafing

DIY Gilded Agate Coaster: Your Complete Guide 12

Apply multiple layers of different metallic leaves in patches to create a multi-toned edge. It’s like a little sunset around each coaster.

Marbled Gilding

DIY Gilded Agate Coaster: Your Complete Guide 13

Create a marbled effect by partially gilding the top surface of the agate with a lighter touch. This technique fuses natural stone patterns with metallic veins.

Textured Edges

DIY Gilded Agate Coaster: Your Complete Guide 14

Mix fine sand or small beads into your sealant to create a textured, three-dimensional edge that feels as interesting as it looks.

Dual-Sided Dazzle

DIY Gilded Agate Coaster: Your Complete Guide 15

Gild one side for a classic, elegant look, and leave the other side natural for a more rustic feel. It’s like getting two styles in one!

Each variation is an opportunity to flex your creative muscles and tailor your coasters to your personal style or the mood of your room. Go ahead, get creative, and let your DIY gilded agate coasters be a small but stunning testament to your creativity!

How Do You Maintain and Care for Gilded Agate Coasters?

Taking care of your DIY gilded agate coasters is key to keeping them looking as good as new. It’s really pretty straightforward:

  • Dust Regularly: Just a quick wipe with a soft, dry cloth will keep them dust-free. Think of it like gently brushing off a pair of fancy sunglasses – it’s all about preserving that shine.
  • Spot Clean: Spills happen, but no sweat. Dip a cloth in soapy water, wring it out so it’s damp but not dripping, and dab the spot clean. Then, take a dry cloth to remove any moisture.
  • Avoid Harsh Chemicals: Chemicals can be rough on the gilding and the agate itself, so avoid harsh cleaners. Soap and water are your best buddies here.
  • Keep them Dry: Water is the nemesis of the metallic leaf. After you clean them, make sure they’re 100% dry before you stack them up or put them away.

Conclusion

DIY gilded agate coasters are not just a craft; it’s a statement of style. We’ve guided you through selecting beautiful agate slices, the gilding process, and adding personal touches with creative variations. Remember to care for your coasters gently to keep their luster alive.

Eager to make your coffee table the envy of the neighborhood? Embrace the elegance of nature and DIY charm. Start crafting your gilded agate coasters today and infuse your living space with a personalized touch of luxury. Share your creations with us using #MyGildedCoasters and inspire others to bring this timeless beauty into their homes!

Leave a Comment

4 Comments

  1. Christine wrote:

    I looked on the site and can’t see any round slices that come out to $4.25/6, Can you let us know which ones you chose? I see they sell actual coasters with cork bottoms but those are more expensive. Did you use the cherry picking option?
    Thanks for your help, love the blog!

    Posted 6.10.15 Reply
  2. Mishel wrote:

    Which nail Polish did you use? I can’t seem to find it.

    Posted 6.9.15 Reply